Debian testing, currently aliased jessie, contains software being tested for inclusion in the next major release.
The packages included in this distribution have had some testing in unstable but they may not be completely fit for release yet. It contains more modern packages than stable but older than unstable. This distribution is updated continually until it enters the “frozen” state.
Security updates for testing distribution are provided by Debian testing security team.

In this article, we are going to learn to install & setup Debian Xfce “jessie” testing from scratch using netinst/minimal iso which is around 300MB in size.
Note: This method of installing Debian requires a functioning internet connection during installation.
Although both Ethernet and wireless connections are supported, a wired Ethernet connection is better. This method requires internet connection because only minimal packages as opposed to the full version and the other stuff has to be downloaded during installation.
Step 1: Download the ISO & make a bootable disk
Download the iso & make a bootable usb drive using software like “Unetbootin” or some other similar software that lets you copy iso files to a usb drive & make it bootable.
You can find the weekly builds of all architecture & all formats in this link, http://cdimage.debian.org/cdimage/weekly-builds/.
Here are the direct links to download the weekly builds of the testing iso,
If you don’t know which version to download then check this article, The Ultimate Guide to the Best Linux Distros.
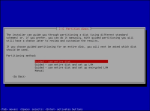
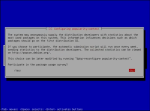
Step 2: The installation from the iso
Boot from the usb drive and choose install. Yes don’t choose the graphical installer as we are going to use the basic installer.
You can refer to the attached images at the end of the article for the step by step process of the installation. There are a total of 42 pictures so I’m just going to list only the important steps during the installation.
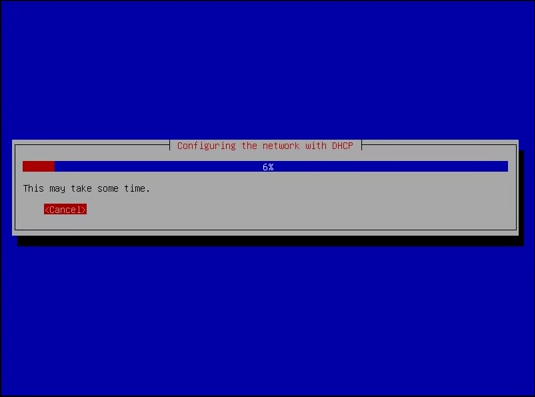
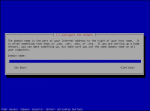
Configure Network
If you are using dhcp on your home router then the network setting will be configured automatically.
If you are not using dhcp then the installer will ask you to configure the network manually. I have dhcp setup in my home router so the network settings were configured automatically by the installer.
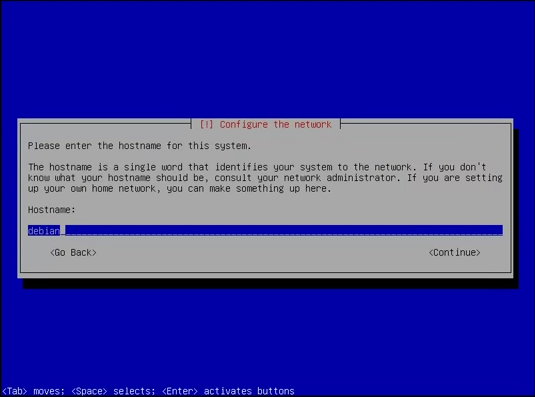
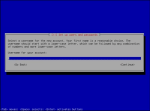
Hostname
Name that identifies the particular system on the network. You can leave debian as the hostname or choose something else. I chose LinuxPanda.
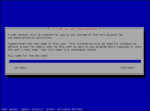
Domain Name
If you are on a particular domain, then use that. If you are not sure then you can just leave it blank.
I left it as blank as I’m not in any domain. (Note: Don’t use local as its a reserved name)

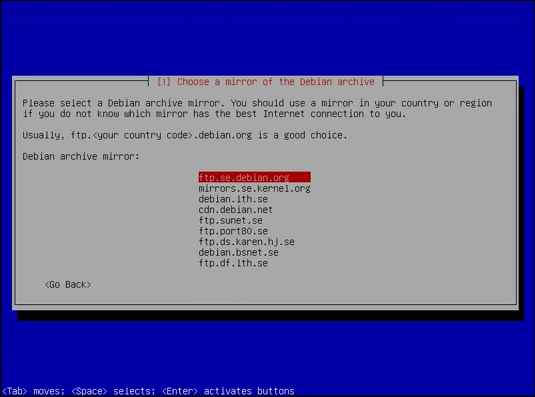
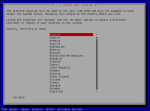
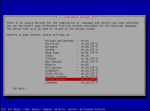
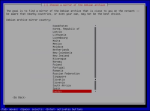
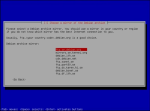
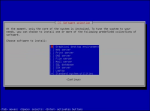
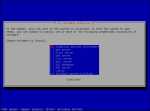
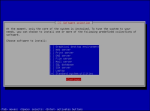
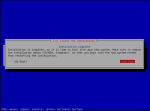
Choose Mirror
Choose the mirror country and the mirror to use to download the packages & updates from.
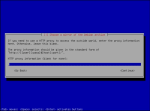
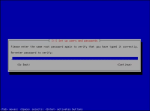
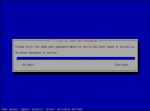
Proxy
If you want to configure proxy then you can do it here. If you are not going to use a proxy then leave it as blank and go to next step.
I left it as blank as I’m not using any proxy.

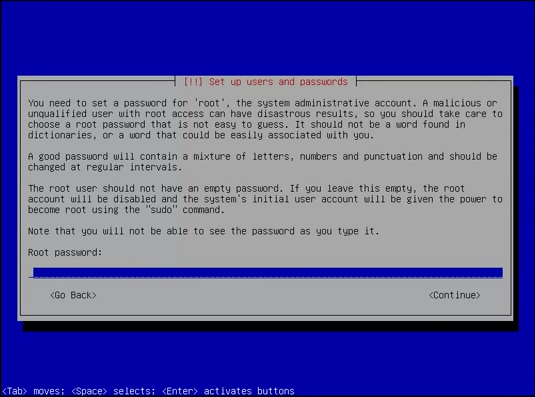
Root Password
Actually we are going to grant sudo access to the user we are going to choose in the next step. So basically the root access is of much use when multiple users are using the system and you don’t want others to have sudo access
Enter the root password and re-enter the root password.
Username & Password
Enter the username (no caps) and the fullname of the user. Its better to choose a password different from the root password.

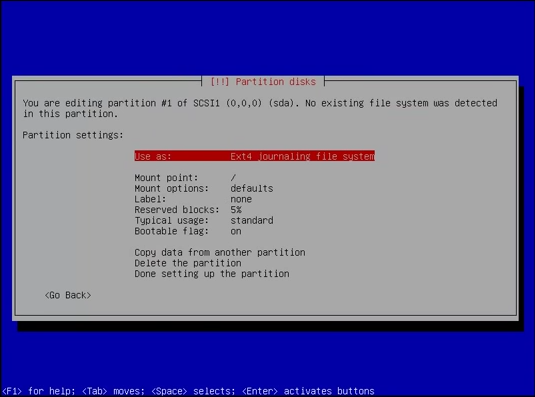
Partition Manager
The partition manager is same as the partition manager from the graphical install except for the fact that we will be configuring everything using keyboard itself.
Choose one partition for the installation and another partition for swap.
Ex:
- 20GB partition with ext4 filesystem with mount point as / (you can leave all other options in the default value)
- 4GB swap (usually swap size it twice the RAM size, so if the system has 2GB RAM then the swap size should be 4GB)
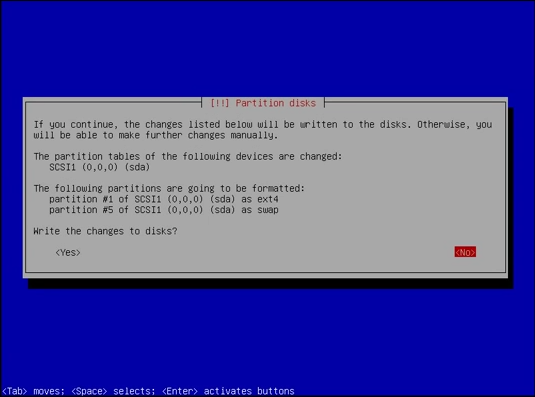
After choosing the partitions, choose “yes” to write changes to disk.
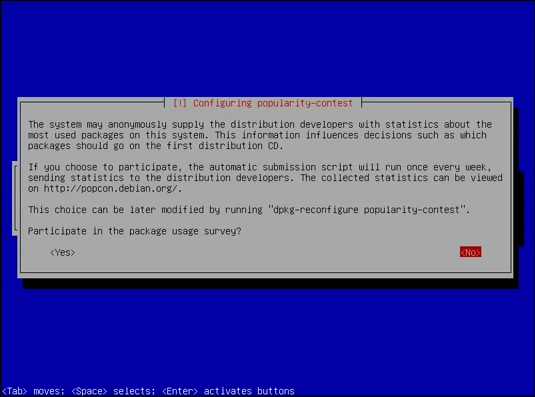
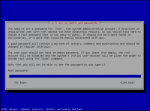
Package usage survey
If you are too much concerned about “privacy” then choose no or else choose yes.
I chose yes.
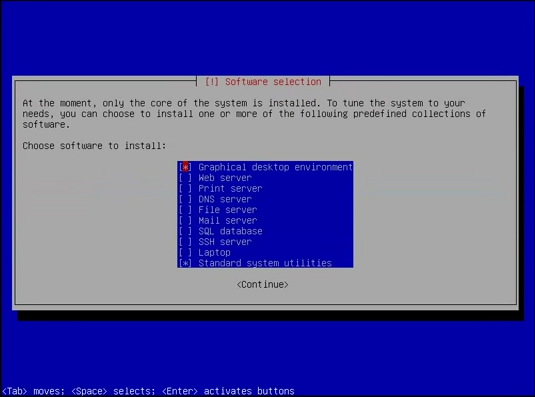
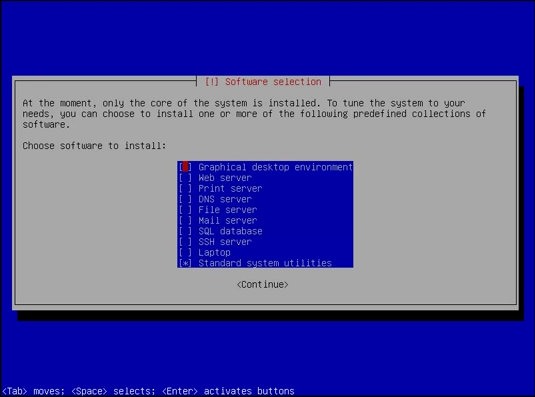
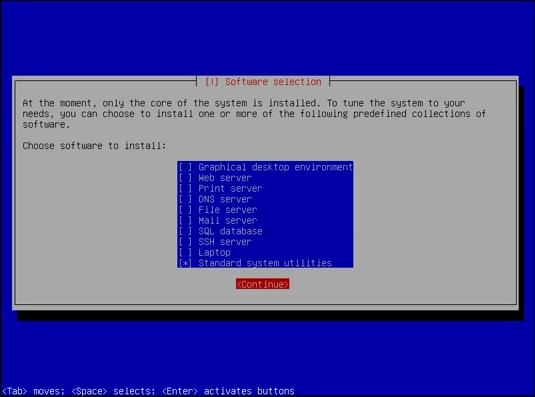
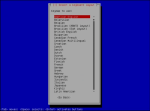
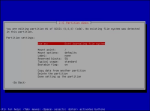
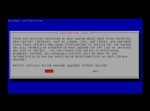
Step 3: Software selection
This is the most important step in this installation, so make sure to choose the “correct” options.
We are going to install Xfce desktop environment later. So deselect the “Graphical desktop environment” option and continue.
You may want to select the “Laptop” option if you are using a laptop for the installation.
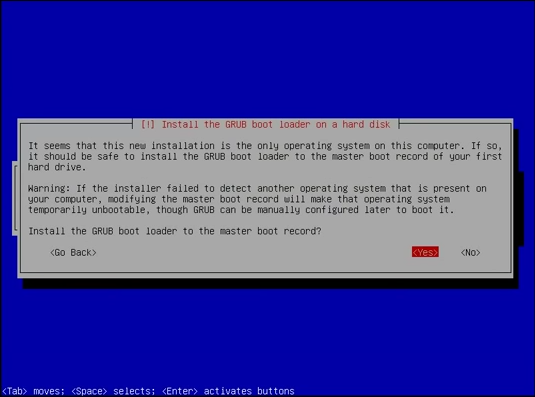
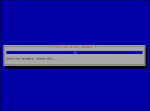
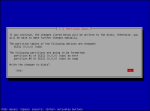
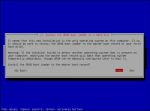
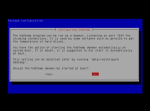
Step 4: GRUB Installation
GRUB
GRUB will check if any other operating systems are already installed in the system and will list them. If the list is correct then you may proceed with the installation.
Usually GRUB boot loader is installed in /dev/sda but if you have more than one HDD, then you can choose the HDD in which you want the boot loader to be installed.
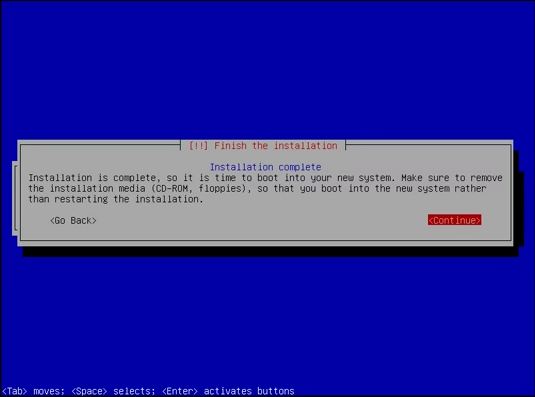
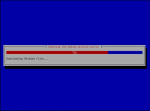
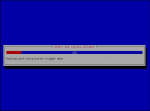
Complete the installation from the iso
Get ready to boot into your new installation after the installer reboots the system.
Step 5: Boot into the new installation
Boot into your new Debian installation and get ready to roll… Nope, not actually. We still have few more steps to do.
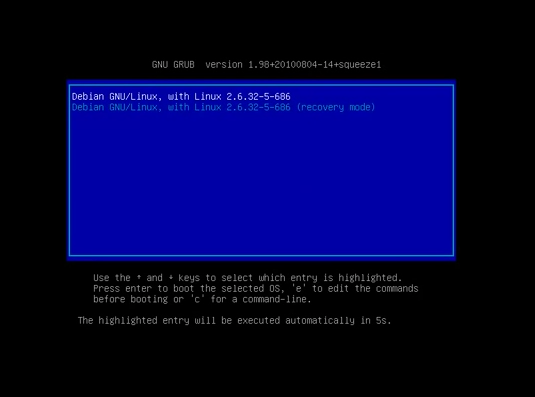
After booting into Debian, you will still be greeted with a command line because we are yet to install a display manager nor the graphical desktop environment.
Enter the user login & password that you chose during the installation.
Now we have to switch to super user mode (root) and edit the resources list to testing, update and then install sudo & grant sudo rights to the user.
Here are the commands,
su
Enter the root password
nano /etc/apt/sources.list
You’ll find something like
deb http://ftp.us.debian.org/debian jessie main
deb-src http://ftp.us.debian.org/debian jessie main
deb http://security.debian.org/ jessie/updates main
deb-src http://security.debian.org/ jessie/updates main
Now what we are going to do is make this installation as testing forever. So even after jessie goes stable, this installation will still download packages from the next testing release which will have some other code name.
Also we are going to add “contrib” & “non-free” repositories that are not 100% FOSS as per the Debian Free Software Guidelines.
- “contrib” – repositories include packages which do comply with the DFSG, but may fail other requirements. For instance, they may depend on packages which are in non-free or requires such for building them.
- “non-free” – repositories include packages which do not comply with the DFSG
Now replace “jessie” with “testing” and add “contrib non-free” after main. Save and close the file.
deb http://ftp.us.debian.org/debian testing main contrib non-free
deb-src http://ftp.us.debian.org/debian testing main contrib non-free
deb http://security.debian.org/ testing/updates main contrib non-free
deb-src http://security.debian.org/ testing/updates main contrib non-free
If you want to use a installation that is 100% FOSS as per the Debian Free Software Guidelines then just don’t add “contrib” & “non-free”.
Note: I would like to let you know that we are going to install software from the “contrib” and “non-free” repositories too.
Now lets update to fetch the list of packages from the newly added contrib & non-free repositories.
apt-get update
Grant Sudo Access (Optional)
If you don’t want to give sudo access to the users then you should skip these steps.
apt-get install sudo

usermod -a -G sudo <username>
Replace <username> with your username to which you want to grant sudo access.
Now logout & login to get sudo access to those users.
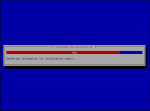
Step 6: Update & Upgrade the new installation
Now we are going to update & upgrade the system. We are using the iso from the weekly builds, so this step should take less time.
Log into your user and run the following commands.
sudo apt-get update
sudo apt-get upgrade
If you get any messages, press q to exit the message and continue the installation. You may read them if you want and then press q.
When you get a dialogue box asking if services can be restarted automatically during upgrade, choose “yes”.

After the upgrade is complete, restart the system
sudo reboot
Step 7: Install the Xfce Desktop Environment
Now we are going to install Xfce & goodies by running the following command.
sudo apt-get install xfce4 xfce4-goodies
The “Goodies for Xfce” project includes additional software and artwork that are related to the Xfce desktop, but not part of the official release.
To view the list of packages installed by xfce4-goodies, check this link, https://packages.debian.org/jessie/xfce4-goodies.
If you want to start the HDD temp monitoring daemon during startup then choose “yes” or else choose “no”. I chose “no”.

After the installation is complete, run the following command to check if the Xfce installation was successful.
startx
The starx command is actually a “front end” for the xinit system which will bring up the GUI (Xfce in this installation).
After running the above command you will see the Xfce desktop environment that we just installed. Now log out to get back to the command line.
Step 8: Install the Lightdm display manager
Now we are going to install lightdm display manager (i.e. the GUI in which you enter username & password) which is the recommended display manager for Xfce.
You may install some other display manager as per your choice. You can find the list of display managers available in Debian in this link, https://wiki.debian.org/DisplayManager.
sudo apt-get install lightdm
Step 9: Install few applications
Now we are going to install few packages,
- synaptic package manager – graphical package management tool which enables you to install, upgrade and remove software packages in a user friendly way.
- apt-xapian-index – maintenance and search tools for a Xapian index of Debian packages
- gdebi – simple tool to install deb packages
- gksu – graphical frontend for su
- menu – generates programs menu for all menu-aware applications
- iceweasel – Iceweasel is just Firefox but with a different name
sudo apt-get install synaptic apt-xapian-index gdebi gksu menu
sudo reboot
After rebooting the system and while entering your username & password, choose “Xfce Session” from the drop down box.
Now enjoy your new Debian Xfce installation.
Further Steps to do:
The 8 steps mentioned in this article just complete the basic installation and its already long enough. So I have decided to split the other steps from this post and make another post.
So lets continue the installation process in the post in this link, Things to do after installing Debian Jessie.
The full gallery of pictures


xfce IS the (default) desktop on jessie.. at the moment.. (step 7 kind of redundant)
anyway.. thanks..
thought to use (a part of it) for a (very) minimal install, fluxbox only.. didn’t work though..
going with xface instead..
cheers..
Yes Xfce is the default desktop environment for jessie as of now but I read somewhere that its not final and might change in the final release.
You can accomplish the EXACT same thing much easier.
At the FIRST screen during the boot from the INSTALL media just hit TAB. A command line appears. Simply type:
desktop=xfce
….at the end of the command line and hit Enter.
Done.
Only XFCE is installed.
Thank you very much for that information. 🙂
Thank you very much for your help, excellent contribution and very complete.
by the way, nice post.
Thanks, that saved me a lot of hassle ! … I prefer xfce and uninstalling gnome then installing xfce doesn’t work as well as not installing gnome in the first place … good how-to 😀
Cheers
Don
Awesome guide, really clear. I am planing to install Debian on my laptop soon.